oreo cheesecake recipe
Cheesecake lovers, rejoice! If you’re looking for a rich, creamy dessert that combines the beloved flavor of Oreos with the classic delight of cheesecake, you’ve come to the right place. This Oreo cheesecake recipe not only brings the deliciousness of Oreos to the forefront but also ensures a smooth, velvety texture that melts in your mouth. Whether you’re planning a special occasion or simply craving something sweet, this cheesecake is sure to impress. Let’s dive into the world of Oreo cheesecake and discover how to make this delectable treat!
Table of Contents
| Sr# | Headings |
|---|---|
| 1 | Understanding Cheesecake |
| 2 | Ingredients You’ll Need |
| 3 | The Perfect Oreo Crust |
| 4 | Making the Oreo Cheesecake Filling |
| 5 | Assembling Your Cheesecake |
| 6 | Baking the Cheesecake |
| 7 | Serving and Storing Your Cheesecake |
| 8 | Tips for the Best Oreo Cheesecake |
| 9 | Variations on the Classic Recipe |
| 10 | Conclusion |
| 11 | FAQs |
Understanding Cheesecake
Cheesecake is a dessert that’s loved by many around the globe. It has a unique combination of creamy filling and a crunchy base, often enhanced with various flavors and toppings. But what is it that makes cheesecake so special? Imagine a dessert that combines the best of both worlds: the richness of cream cheese and the delightful crunch of a cookie crust. It’s like a warm hug on a plate!
At its core, cheesecake consists of three main components: the crust, the filling, and the topping. The crust usually consists of crushed cookies or graham crackers mixed with butter, while the filling is typically made from cream cheese, sugar, and eggs. The topping can range from fruit compote to chocolate ganache, depending on your preference.
In our Oreo cheesecake recipe, we’ll use Oreo cookies to create both the crust and add that signature cookie flavor to the filling. It’s a match made in dessert heaven! But beyond just its taste, cheesecake has a rich history, dating back to ancient Greece. The Romans were known to serve cheesecake at their feasts, and over time, it evolved into the delicious versions we enjoy today. So, every bite you take connects you to centuries of dessert evolution!
Ingredients You’ll Need
To create a delicious Oreo cheesecake, gathering the right ingredients is crucial. Here’s a list of what you’ll need:
- For the Crust:
- 24 Oreo cookies (crushed into fine crumbs)
- 5 tablespoons unsalted butter (melted)
- For the Filling:
- 24 ounces cream cheese (softened to room temperature)
- 1 cup granulated sugar
- 1 teaspoon vanilla extract
- 3 large eggs (at room temperature)
- 1 cup sour cream
- 1 cup crushed Oreo cookies (for mixing into the filling)
- For Topping (optional):
- Whipped cream
- Additional crushed Oreos for garnish
- Chocolate sauce or ganache
Gathering these ingredients is like setting the stage for a culinary performance. Each component plays its role in creating that unforgettable Oreo cheesecake experience. From the buttery crust to the creamy filling, you’re about to create a masterpiece that will leave everyone asking for seconds!
The Perfect Oreo Crust
Creating the perfect crust is essential to the success of your cheesecake. The crust acts as a foundation, providing stability and a delightful contrast to the creamy filling. For our Oreo cheesecake, we’ll use crushed Oreo cookies, which means we’re doubling down on that chocolatey goodness!
To start, preheat your oven to 350°F (175°C). In a mixing bowl, combine the crushed Oreo cookies with melted butter. The melted butter acts as a glue, binding the cookie crumbs together. Mix until the crumbs are well-coated and resemble wet sand. You want the crust to hold together well once baked, so ensure the butter is evenly distributed.
Next, press the cookie mixture firmly into the bottom of a 9-inch springform pan. Use the bottom of a flat measuring cup or your fingers to pack it down evenly. Make sure to create a slight rise along the sides of the pan, which will help contain the filling.
Once you have your crust prepared, bake it in the preheated oven for about 10 minutes. This step is crucial, as it helps set the crust and enhances its flavor. Once baked, remove it from the oven and let it cool while you prepare the filling. The aroma of baking Oreos will fill your kitchen, and it will be hard to resist sneaking a taste!
Making the Oreo Cheesecake Filling
Now comes the fun part: making the cheesecake filling! This creamy concoction is where the magic truly happens. In a large mixing bowl, beat the softened cream cheese with a hand mixer or stand mixer until it’s smooth and fluffy. This step is essential, as a smooth filling will result in a creamy texture that melts in your mouth.
Once the cream cheese is well-beaten, gradually add in the granulated sugar, mixing until combined. The sugar adds sweetness and balances the richness of the cream cheese. Next, add the vanilla extract, which brings a lovely depth of flavor to the cheesecake.
Now, it’s time to incorporate the eggs. It’s important that the eggs are at room temperature to ensure a smooth blend. Add them one at a time, mixing well after each addition. This helps prevent overmixing, which can lead to a dense cheesecake.
After the eggs are fully incorporated, add the sour cream. Sour cream not only adds tanginess but also contributes to the creamy texture of the cheesecake. Finally, gently fold in the crushed Oreo cookies. This is where you get those delightful cookie bits throughout the cheesecake, ensuring that every bite is packed with flavor.
Mix until everything is just combined, being careful not to overmix. The filling should be velvety and luscious, ready to be poured into the prepared crust.
Assembling Your Cheesecake
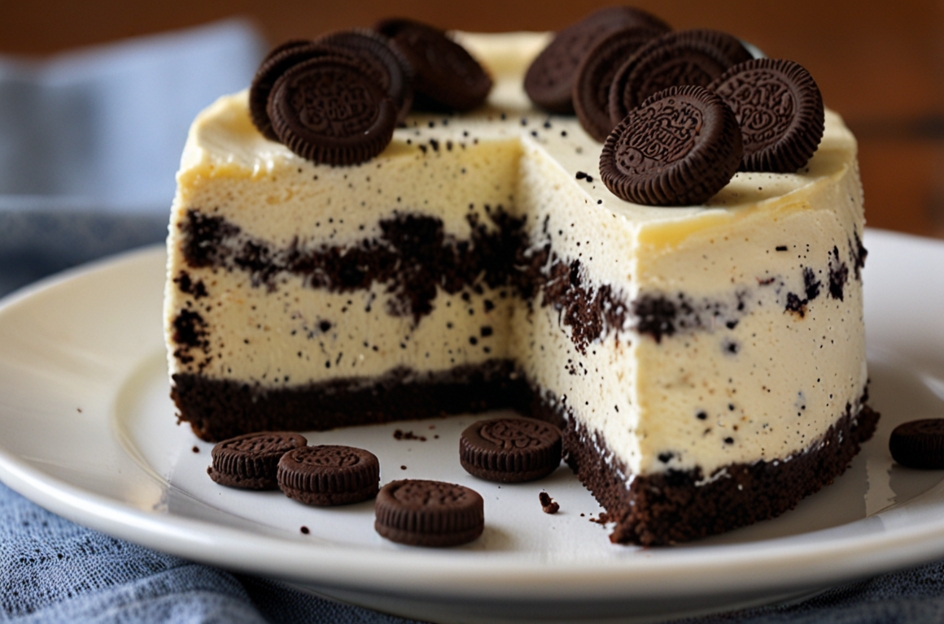
With the crust cooled and the filling ready, it’s time to assemble your Oreo cheesecake! Carefully pour the filling over the cooled crust, spreading it evenly with a spatula. The filling will sit beautifully atop the crust, creating a layered effect that’s visually stunning.
Before baking, tap the pan gently on the counter. This helps release any air bubbles that may have formed during mixing, resulting in a smoother cheesecake surface. Now, it’s time to pop the cheesecake into the oven. Bake at 325°F (160°C) for about 50-60 minutes. The edges should be set, while the center may still jiggle slightly.
One of the secrets to a perfectly baked cheesecake is to avoid overbaking. The residual heat will continue to cook the cheesecake after it’s removed from the oven, allowing it to set perfectly.
Once the cheesecake is done baking, turn off the oven and crack the oven door open. Let the cheesecake cool in the oven for about an hour. This gradual cooling helps prevent cracks from forming on the surface, ensuring your cheesecake looks as good as it tastes!
Baking the Cheesecake
After the hour has passed, remove the cheesecake from the oven and let it cool completely on the counter. Once cooled, refrigerate it for at least four hours, or ideally overnight. This chilling time allows the flavors to meld together and enhances the texture.
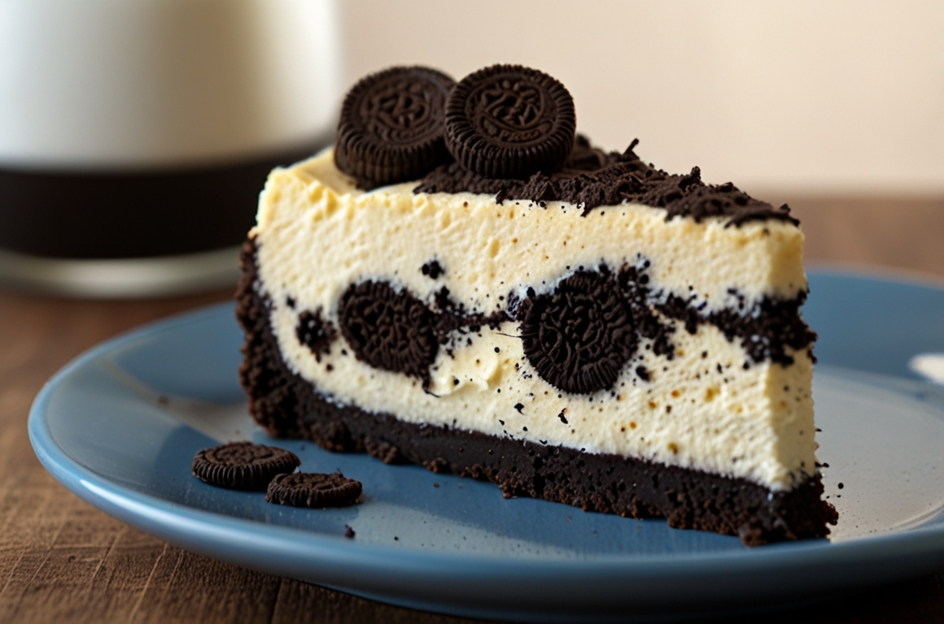
When it’s time to serve, carefully run a knife around the edge of the cheesecake to loosen it from the pan. Then, release the springform and gently lift it away. Your cheesecake should come out beautifully, showcasing its Oreo crust and creamy filling.
If you want to take your cheesecake to the next level, consider adding toppings. A dollop of whipped cream, a drizzle of chocolate sauce, or a sprinkle of crushed Oreos on top can elevate the presentation and flavor even further. Just imagine serving this gorgeous cheesecake at your next gathering — it will be the star of the dessert table!
Serving and Storing Your Cheesecake
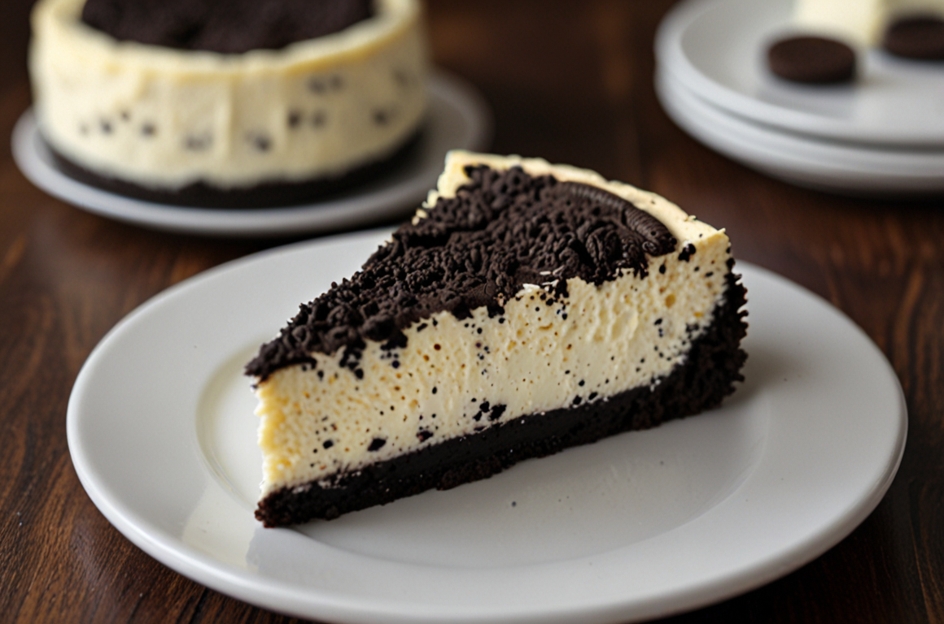
When it comes to serving your Oreo cheesecake, there are endless possibilities. Slice it into generous pieces and serve it chilled. Each slice should reveal the creamy filling and the crunchy crust, creating a delightful contrast of textures.
If you’re hosting a gathering, consider serving the cheesecake alongside fresh fruit, such as strawberries or raspberries. The fruity tartness complements the richness of the cheesecake beautifully. You can also serve it with a cup of coffee or tea, as the flavors meld wonderfully with these beverages.
Storing your cheesecake is simple. If you have leftovers (which is unlikely, but we can dream!), cover the cheesecake with plastic wrap or aluminum foil to keep it fresh. It can be stored in the refrigerator for up to five days. If you want to keep it longer, consider freezing it. Wrap individual slices in plastic wrap, then place them in an airtight container. They can be frozen for up to three months, allowing you to enjoy a slice of cheesecake anytime!
Tips for the Best Oreo Cheesecake
- Use Room Temperature Ingredients: Ensure that your cream cheese and eggs are at room temperature before mixing. This helps achieve a smooth and creamy filling without lumps.
- Don’t Overmix: While it’s important to mix until smooth, overmixing can introduce too much air into the batter, leading to cracks. Mix until just combined.
- Add a Water Bath: For an ultra-creamy texture, consider using a water bath (bain-marie) while baking. Wrap your springform pan in aluminum foil and place it in a larger baking dish filled with hot water. This creates a gentle steam that helps the cheesecake bake evenly.
- Chill Thoroughly: The longer you chill the cheesecake, the better it will taste. Overnight chilling allows the flavors to meld and results in a firmer texture.
- Experiment with Toppings: Don’t be afraid to get creative with toppings! Consider adding caramel drizzle, chocolate shavings, or even a layer of ganache for extra indulgence.
Variations on the Classic Recipe
While the classic Oreo cheesecake is undeniably delicious, there are plenty of ways to switch things up and put your unique spin on this dessert. Here are a few ideas to consider:
- Mint Oreo Cheesecake: For a refreshing twist, use mint-flavored Oreo cookies in the crust and filling. Add a hint of peppermint extract for an extra minty kick!
- Chocolate Chip Oreo Cheesecake: Fold in mini chocolate chips into the filling for an added layer of chocolatey goodness. The mini chips provide a fun texture and flavor contrast.
- Peanut Butter Oreo Cheesecake: Swirl in some creamy peanut butter into the filling for a delightful peanut butter and chocolate combination. You can also top it with crushed peanut butter cups!
- No-Bake Oreo Cheesecake: If you prefer a no-bake option, simply mix the filling ingredients together and pour it over the crust. Chill it until firm, and you’ll have a deliciously creamy dessert without the oven.
- Oreo Swirl Cheesecake: Create a marbled effect by swirling crushed Oreos into the filling before baking. This not only adds visual appeal but also enhances the Oreo flavor in every bite.
Conclusion
In conclusion, this Oreo cheesecake recipe is a must-try for anyone who loves dessert. With its rich flavors, creamy texture, and delightful crunch, it’s sure to become a favorite in your household. Whether you serve it at a party or enjoy a quiet slice at home, this cheesecake is a treat that brings joy to every occasion. So gather your ingredients, follow the steps, and get ready to indulge in the ultimate dessert experience!
FAQs
What is the best way to store leftover Oreo cheesecake?
To store leftover cheesecake, cover it with plastic wrap or aluminum foil and keep it in the refrigerator for up to five days. For longer storage, wrap individual slices and freeze them in an airtight container for up to three months.
Can I make Oreo cheesecake without baking it?
Yes! You can make a no-bake Oreo cheesecake by mixing the filling ingredients and pouring them over the crust. Chill until set for a delicious, creamy dessert without using the oven.
What can I use instead of sour cream in the cheesecake filling?
If you don’t have sour cream on hand, you can substitute it with Greek yogurt or cream cheese for a similar tangy flavor and creamy texture.
How do I prevent cracks from forming on my cheesecake?
To prevent cracks, avoid overmixing the batter and allow the cheesecake to cool slowly in the oven with the door slightly ajar. Using a water bath can also help achieve a smooth finish.
Can I use different cookies for the crust?
Absolutely! While Oreos are delicious, you can experiment with other cookies, such as chocolate wafers or graham crackers, to create a unique crust for your cheesecake.

